

Contact
Kathmandu,Nepal
9745652548 / 49
Table of Contents
cPanel provides you with numerous options to manage your domain, webmail, passwords, backups, and more. Among all the options, JetBackup is also one of the tools available in cPanel.
JetBackup
JetBackup is a cPanel tool that offers a powerful backup and recovery offering. Our servers make off-site backups of your data every day (around midnight) and store them so long as your hosting plan allows. The entire backup process has been automated (off-site) using our systems, so the process is extremely easy.
JetBackup allows you to store backups, so whenever you need to, you can restore it from cPanel. JetBackup allows you to restore, create and download all your backups. So, in cPanel, using JetBackup, you can restore your file backups, full account backups, database backups, and email backups. We will learn about these steps below in brief
Steps to Restore File Backups Using JetBackup in cPanel
Follow the below steps to restore backups using JetBackup in cPanel.
Step 1: Sign In to your cPanel.
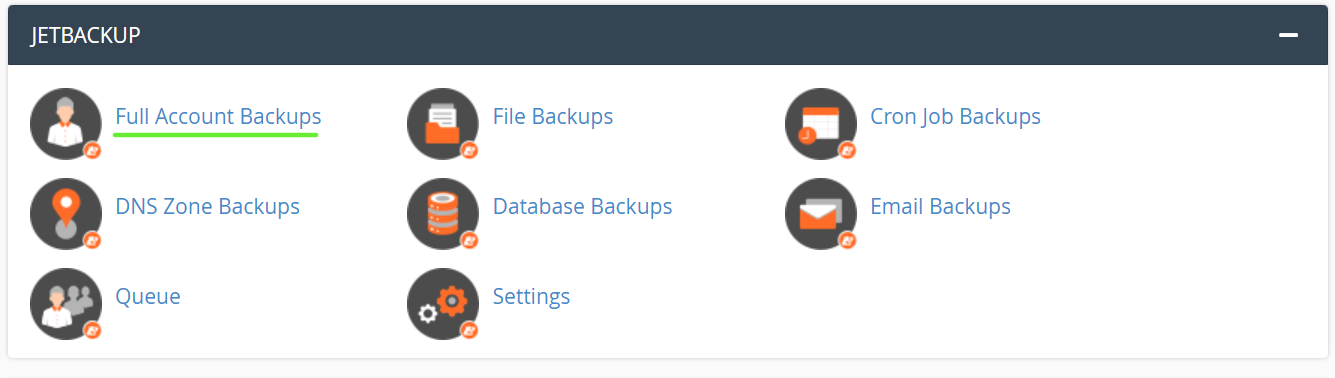
Step 2: Scroll down to the JetBackup section and click on File Backup.

Step 3: The window below will open. Under Actions, click on File Manager.

Step 4: Let’s restore the site on the cPanel’s primary domain. Public_html is the root of your primary domain. So after you click on File Manager, the list of files and folders are shown.
Click on the checkbox of the public_html folder as the screen below appears.

Step 5: Click on the Restore Selected button.
To create a backup of the selected folder, I could have used the Download Selected option instead of Restore Selected, and JetBackup would have created a backup from that point on. This is useful if you want to make a local download and check on some of your site’s files before restoring it.
Step 6: Click on Add to Restore Queue button.
Step 7: Then the backup file is successfully added to Queue. Go to cPanel’s dashboard > JetBackup > Queue.

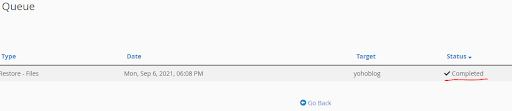
Step 8: Once the status is Completed, that means the restore has been successful.
Similarly, using JetBackup, you can restore more backups like database backups, email backups in cPanel.
Let’s learn how to restore Full Account Backups,
Below are the steps showing how to restore Full Account Backup:
Step 1: Sign In to your cPanel.
Step 2: Go to the JetBackup section and click on Full Account Backup.
Step 3: Select and click on RESTORE of which date you want to restore.
Step 4: Click on Add to Restore Queue button.
Step 5: Then, the backup file is successfully added to Queue. Go to cPanel’s dashboard > JetBackup > Queue.
Step 6: You can download files under Actions which JetBackup will create a compressed file containing your all accounts.
Let’s learn how to restore Database Backup,
Here are the steps for restoring a Database Backup:
Step 1: Sign In to your cPanel.
Step 2: Scroll down to the JetBackup section and click on Database Backup.

Step 3: All your databases are shown in the new window and Select and click on RESTORE which database you want to restore.
Step 4: Click on Add to Restore Queue button.
Step 5: Then the backup file is successfully added to Queue. Go to cPanel’s dashboard > JetBackup > Queue.
Step 6: You can download files under Actions which JetBackup will create a compressed file containing your database.
Let’s learn how to restore Email Backup,
Step 1: Sign In to your cPanel.
Step 2: Scroll down to the JetBackup section and click on Email Backup.

Step 3: All your email addresses are shown in the new window and Select and click on RESTORE which emails you want to restore.
Step 4: Click on Add to Restore Queue button.
Step 5: Then, the backup file is successfully added to Queue. Go to cPanel’s dashboard > JetBackup > Queue.
Step 6: You can download files under Actions which JetBackup will create a compressed file containing your emails.
Note: Most of the Hosting company provides backup as a courtesy. They will no longer be accountable for any loss, erasure, or corruption of the Customer’s facts or files. So you can take regular backup of your Cpanel to your local machine i.e Desktop or laptop after making changes to your website or make disaster recovery plan.

